How to Check Ice Thickness Safely Before Ice Fishing
The thrill of chasing fish on a frozen lake is an experience unlike any other, but that excitement can quickly turn to dread if you're not absolutely certain about the ice beneath your feet. Too many anglers, myself included at times, have made the mistake of assuming the ice is "probably fine," only to find themselves in a precarious or even dangerous situation. This guide is dedicated to equipping you with the crucial knowledge and practical steps to confidently and safely check ice thickness, ensuring your next Utah ice fishing adventure is memorable for all the right reasons.
Why Ice Thickness is Non-Negotiable for Safety
Stepping out onto a frozen body of water demands respect and an unwavering commitment to safety. The ice might look solid, stretching out like an endless white desert, but appearances can be incredibly deceiving. What feels like a robust surface near shore could hide dangerously thin patches, currents, or pressure ridges just a short walk away. This isn't just about avoiding a chilly dunk; it's about preventing serious injury or even tragedy.
The Dangers of Thin Ice
Falling through thin ice isn't like falling into a swimming pool. The shock of the cold water alone can be crippling, leading to an immediate gasp reflex that can draw water into your lungs. Within minutes, hypothermia sets in, draining your strength and coordination, making it incredibly difficult to pull yourself out. Beyond the immediate threat to life, there's the very real risk of losing valuable equipment – your auger, fishing rods, tackle box, and even your snowmobile or ATV could disappear into the icy depths.
Utah's winter weather can be notoriously unpredictable. We might have stretches of bitter cold that build solid ice, followed by unseasonably warm days or intense sunshine that quickly deteriorates the ice from the top down. Snowfall can act as an insulator, preventing strong ice formation, or it can cover thin spots, creating a deceptive blanket of white that hides peril. Every season brings its own set of challenges, and every lake, and even different areas on the same lake, will freeze and thaw differently. That's why having reliable methods for checking the ice isn't just a suggestion; it's an absolute necessity. Understanding the real risks makes the effort of proper ice checking a small price to pay for peace of mind and safety.
Utah's Recommended Minimums and Variability
The Utah Division of Wildlife Resources (DWR) provides clear guidelines for safe ice thickness, which are critical for every angler to know by heart. These aren't arbitrary numbers; they are based on extensive research and safety protocols designed to protect lives.
Here's a quick overview of the minimum ice thickness generally recommended for various activities:
| Activity / Load | Minimum Ice Thickness (Inches) | Notes |
|---|---|---|
| Foot Traffic | 4 inches | Always use extreme caution. Spread out weight, never walk alone. |
| Ice Fishing Group (Spread Out) | 5-7 inches | Allows for small groups of anglers with gear. Again, spread out, avoid congregating. |
| Snowmobile / ATV | 8-12 inches | Requires significantly thicker, more stable ice. Check often, avoid slushy areas. |
| Small Car / Light Truck | 12-15 inches | Extremely risky, generally not recommended. Only attempt on clearly marked ice roads after thorough DWR or local ice guide confirmation. |
| Medium Truck | 15-20 inches | Very rare and only on specifically designated ice roads. |
It’s important to stress that these are minimums for clear, solid ice. White, opaque, or snow-covered ice is often much weaker and should be treated with extreme caution, requiring double the thickness for the same load-bearing capacity.
Beyond these numbers, you must understand that ice thickness is rarely uniform across an entire body of water. Factors like underwater springs, flowing inlets (think of the Provo River flowing into Utah Lake), fluctuating water levels, and even prevailing winds can create areas where ice is significantly thinner, even if the rest of the lake appears solid. For instance, areas near stream inlets at Strawberry Reservoir or Deer Creek Reservoir will almost always be thinner than the middle of the lake, especially early in the season or during a thaw. Always be on the lookout for these variable conditions; a good angler is always a cautious angler.
Essential Tools for Accurate Ice Measurement
You wouldn't head out fishing without your rod and reel, right? Similarly, you should never venture onto the ice without the proper tools to assess its thickness. Relying on guesswork, a quick glance, or anecdotal information from others is a recipe for disaster. Having the right gear on hand is your first line of defense.
Ice Augers and Spud Bars
These are your primary instruments for directly measuring ice thickness. While they both create holes in the ice, they serve slightly different purposes in your safety protocol.
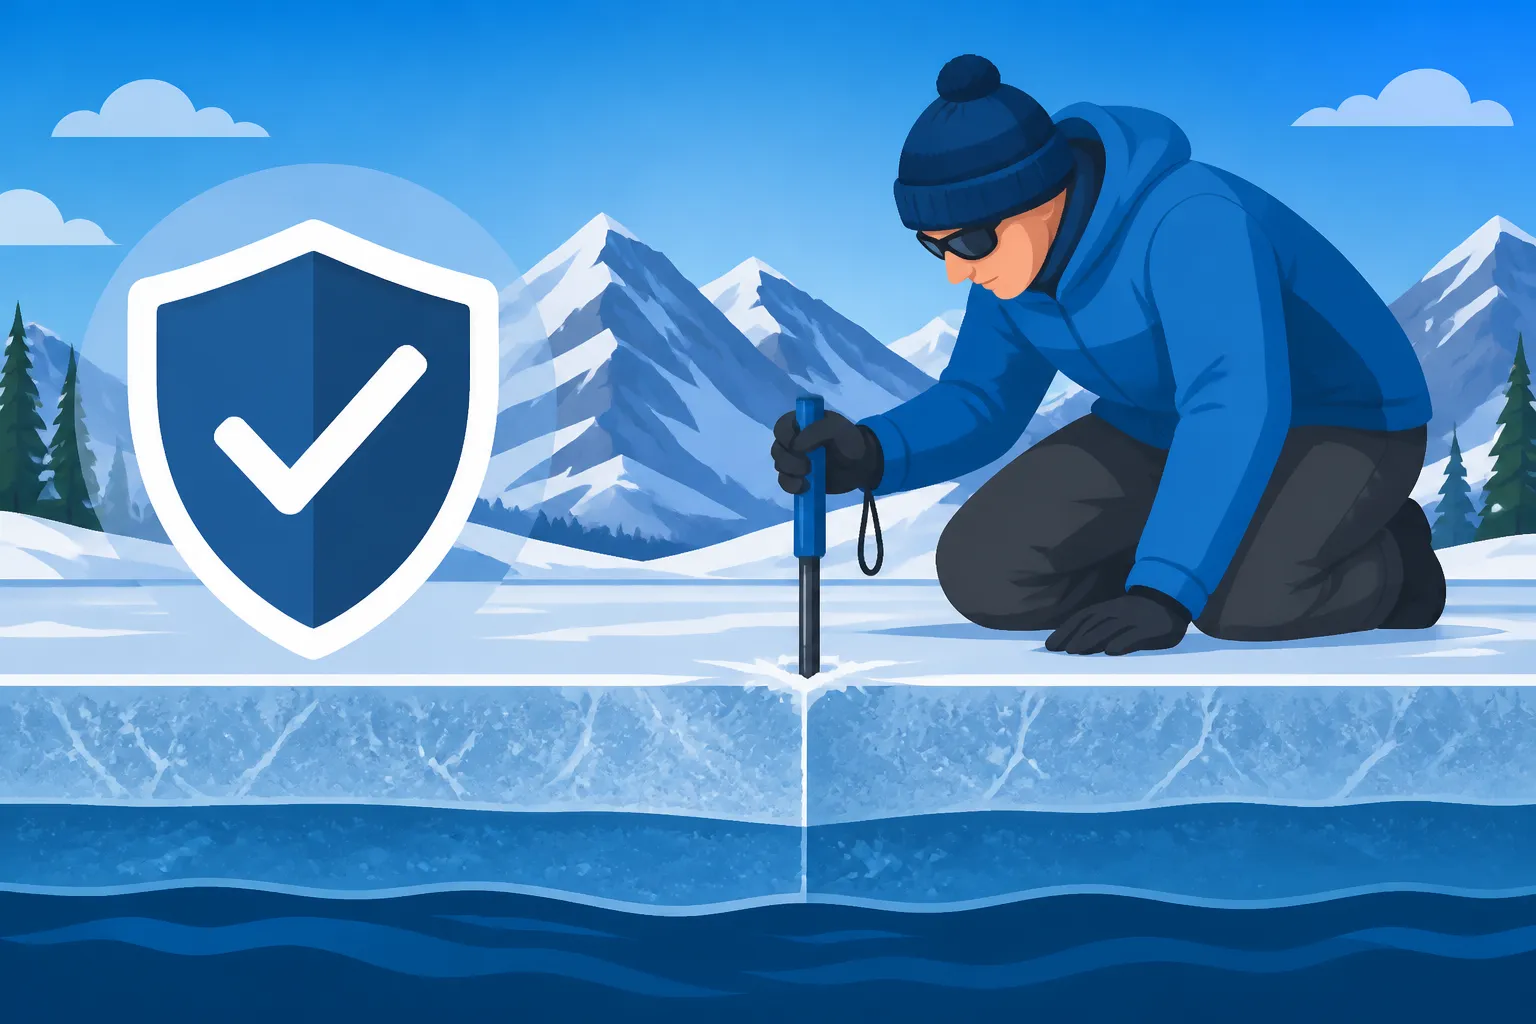
A spud bar is essentially a heavy-duty steel chisel on a long handle, often with a rope or chain for security. Its main purpose is to "spud" or jab the ice ahead of you as you walk. When the ice is strong enough, the spud bar will bounce off with a solid thud. If it goes through with one or two jabs, you know you've found dangerously thin ice and need to retreat immediately. It’s an invaluable tool for that initial reconnaissance, especially when you're just starting out from shore or venturing into a new area. You can find durable spud bars at most outdoor retailers, or you might even find a great selection on Amazon if you prefer the convenience of online shopping.
An ice auger, on the other hand, is designed to drill a clean, round hole through the ice. This is what you'll use to take precise measurements. Whether you use a hand auger, a propane-powered auger, or a battery-powered auger, the principle is the same: drill a hole, then measure the ice. Hand augers are great for portability and quiet operation, perfect for those quick checks without disturbing the fishing. Power augers make quick work of thick ice, which is a blessing on those deeper, more established fisheries like Flaming Gorge or Fish Lake. The key is to drill holes frequently, not just once. If you're heading out for some serious ice fishing, a reliable auger is your best friend. For more details on choosing the right one, check out our guide on the Best Ice Augers for Utah Ice Fishing.
Tapes, Rulers, and Measuring Devices
Once you've punched a hole with your auger, how do you actually get an accurate measurement? This is where simple tools come into play.
A basic tape measure or a ruler is often all you need. After drilling your hole, insert the tape measure into the hole until it hits the water, then pull it up against the underside of the ice to get your reading. Some anglers prefer to mark their auger shaft itself with permanent marker at 1-inch increments, allowing for a quick visual estimate as they drill. This method is fast but might not be as precise as a dedicated ruler.
Another popular option is an ice thickness gauge, which is essentially a specialized ruler often designed to hook onto the edge of the ice, providing a very clear and easy-to-read measurement. These can be particularly handy for gloved hands in cold weather. Some ice fishing shelters and sleds even come with integrated rulers or measurement guides, making it simple to take a quick check without fumbling for extra tools. Whatever method you choose, ensure it's easy to use in cold, wet conditions and that you get a clear, accurate reading every time. Don't eyeball it; measure it!
Step-by-Step Guide to Safe Ice Probing
Knowing the tools is one thing; effectively using them to guarantee your safety is another. A systematic approach to checking ice thickness is vital for every ice angler. Never rush the process, and always err on the side of caution.
Starting From Shore and Moving Out
The journey onto the ice begins long before you cast your line. The shore is often the weakest point, especially in early winter or during a thaw.
- Initial Assessment from Shore: Before even stepping foot on the ice, observe the conditions from a safe vantage point. Look for open water, slushy areas, or signs of recent thawing around the edges. If there are other anglers, observe their movements, but don't assume their spot is safe for you.
- Spud Bar First: This is non-negotiable. As you take your very first steps onto the ice, use your spud bar to test the ice directly in front of you. Jab it hard! If it penetrates easily, retreat immediately. If it takes multiple solid hits to go through 4 inches, you can proceed with extreme caution.
- The Buddy System: Always, always fish with a buddy, especially when checking ice. As you move out, one person should go first, continually spudding the ice, while the second person follows a safe distance (at least 20 feet) behind, ready to assist. This spreads out weight and provides immediate help if someone falls through.
- Stay Connected: Many anglers now carry a whistle or even a fully charged smartphone (which you might have picked up from Amazon along with your gear) for emergencies. Keep your phone in a waterproof bag or case to protect it from moisture and cold. Knowing what to do if you or your partner falls through is also crucial. We have an important guide on What to Do If You Fall Through Utah Ice While Fishing that you should review.
Remember, the goal is to make frequent checks as you move. Don't just check once near shore and assume the entire lake is safe.
Drilling and Measuring Strategically
Once you're a safe distance from shore and the ice seems stable for walking, it's time to start drilling and taking precise measurements.
- Frequent Drilling: As a general rule, drill a test hole every 15-20 feet as you venture further out, especially if you're exploring new territory. You should also drill more frequently if the ice appearance changes (e.g., from clear to opaque) or if you notice any unusual cracks or sounds.
- Varying Locations: Don't just stick to a straight line. Ice conditions can vary dramatically depending on what's underneath.
- Near Shore: Often thinner due to runoff and wave action.
- Over Submerged Structures: Rock piles, old creek beds, or points can absorb more solar radiation or alter currents, affecting ice formation.
- Inlets/Outlets: Areas where water flows in or out of the lake will almost always have thinner ice due to constant current. This is particularly true on reservoirs fed by rivers, like the Green River below Flaming Gorge Dam or the Provo River.
- Sun-Exposed Areas: South-facing shorelines or areas without snow cover can melt faster.
- Shaded Areas: While often thicker, they can also hide hazards if not properly checked.
- Consistent Re-checking: Ice is dynamic. It can change throughout the day due to temperature fluctuations, sun exposure, or even heavy snowfalls that weigh down the ice. If you've been fishing in one spot for a few hours, especially on a warmer day, take a minute to drill a new hole nearby and re-check the thickness. This is particularly important on lakes like Willard Bay or Utah Lake, which can experience more dramatic temperature swings. When is Utah's Free Fishing Day, for example? Even on that designated day, you still need to ensure the ice is safe!
The more proactive you are with drilling and measuring, the safer your experience will be. Never take shortcuts when it comes to ice safety.
Understanding Ice Color and Texture
Beyond just thickness, the quality and type of ice play a huge role in its strength. Not all ice is created equal, and knowing the difference can literally save your life.
- Clear (Black) Ice: This is the strongest and safest ice. It forms when the air temperature drops rapidly and consistently, allowing the water to freeze cleanly without snow or air bubbles. It often looks dark, almost black, because you can see right through it to the water below. Four inches of clear ice can often support the same weight as 8 inches of cloudy ice. If you find clear ice, you're on a good path, but still, measure!
- White (Opaque/Snow) Ice: This type of ice forms when snow falls on already forming ice and then freezes, or when slush freezes. It contains many air bubbles, making it look cloudy or white. It's significantly weaker than clear ice, sometimes only half as strong. If your measurements indicate, say, 6 inches of white ice, you should probably consider it closer to 3 inches of safe clear ice. Treat white ice with extreme caution.
- Honeycomb Ice: This is perhaps the most dangerous type of ice, especially common during spring thaws or when water levels fluctuate. It forms as the ice begins to melt and refreeze, creating vertical hexagonal crystals that resemble a honeycomb. This ice is incredibly unstable and can give way without warning, even if it appears thick. A spud bar will often go right through it with minimal effort. Avoid any areas that show signs of honeycomb ice.
Pay attention to the sounds the ice makes too. A booming or cracking sound that travels across the lake is often a sign of stable, expanding ice, which is generally a good thing. However, creaking or groaning sounds that are localized and persistent can indicate stress and potential weakness. The more time you spend on the ice, the more attuned you'll become to these subtle but important indicators.
Factors That Compromise Ice Safety Beyond Thickness
While measuring ice thickness is fundamental, it's only part of the equation. Many other environmental factors can dramatically weaken ice, turning a seemingly safe area into a hazardous one in a matter of hours or even minutes. A truly safe angler understands these nuances and adjusts their plans accordingly.
Current, Springs, and Inlets
Water movement is a major enemy of stable ice. Even when air temperatures are well below freezing, flowing water underneath the ice can prevent it from forming solidly or erode it from below.
- River Inlets and Outlets: Any lake or reservoir with a river or stream flowing into or out of it will have compromised ice near those points. For instance, the inlets at Strawberry Reservoir, where the Strawberry River enters, or the outlets of Deer Creek Reservoir, are notorious for having weaker ice, sometimes even open water, even when the rest of the lake is frozen solid. The constant flow of warmer river water prevents uniform freezing.
- Underwater Springs: Many of Utah's lakes and reservoirs are fed by underground springs that discharge warmer water. These localized warm spots can create pockets of dangerously thin ice that are invisible from the surface. You'll often find these springs in specific areas known to local anglers; asking around at bait shops can sometimes provide valuable intelligence.
- Deep-Water Currents: Even in large, seemingly still reservoirs, underwater currents can exist, especially in deeper channels or near dam structures. These currents can erode the underside of the ice, creating unpredictable thin spots. While harder to detect without specialized equipment, a general awareness that not all deep water is stagnant is important. When you're fishing on deeper lakes for species like lake trout, which might require you to fish further from shore, be extra vigilant. Our guide to Utah Trolling Techniques for Lake Trout might get you out into those deeper areas, so always be aware of the ice conditions.
Always be especially cautious when approaching areas where you know there's water movement. Drill extra test holes and use your spud bar aggressively in these zones.
Weather Fluctuations and Snow Cover
Mother Nature's moods swing wildly in Utah, and these changes have a direct and often immediate impact on ice safety.
- Warm Spells and Sunshine: A few days of above-freezing temperatures or intense, direct sunlight can rapidly degrade ice. Even if the night temperatures dip below freezing, the daytime thaw can weaken the ice significantly, especially at the edges and in areas without snow cover. This is particularly true for "honeycomb ice," which often forms during these thaws and can be incredibly deceptive.
- Heavy Snowfall: While a beautiful sight, fresh, deep snow can be a hidden danger on the ice.
- Insulation: Snow acts as an insulator, preventing new, solid ice from forming. If heavy snow falls early in the season, it can insulate the water, keeping it from freezing properly, resulting in a thin layer of weak ice underneath a blanket of snow.
- Weight: A heavy snow load can depress the ice, causing water to seep up through cracks and create slushy areas on top. This slush can then refreeze into weaker, "snow ice," as discussed earlier.
- Hiding Dangers: Snow covers open water, pressure cracks, and previously checked thin spots, making it impossible to visually assess the ice. This is where frequent spud bar checks and drilling become even more critical.
Before any ice fishing trip, always check the local weather forecast, not just for the day you plan to go, but for the preceding few days as well. A sudden warm front or heavy snowstorm should prompt extra caution and perhaps a rescheduling of your trip. Many anglers use a weather app on their phone (readily available on Amazon or any app store) to monitor conditions closely. The best season for ice fishing in Utah generally aligns with consistent cold snaps, but even then, vigilance is key.
Disclaimer
Always remember that ice conditions can change rapidly and unexpectedly. No guide can guarantee absolute safety. This information is intended for educational purposes only. Always exercise extreme caution, use your judgment, and prioritize your safety above all else when venturing onto frozen bodies of water. If you have any doubts about the ice, stay off it.