How to Fillet a Trout After Keeping Your Limit
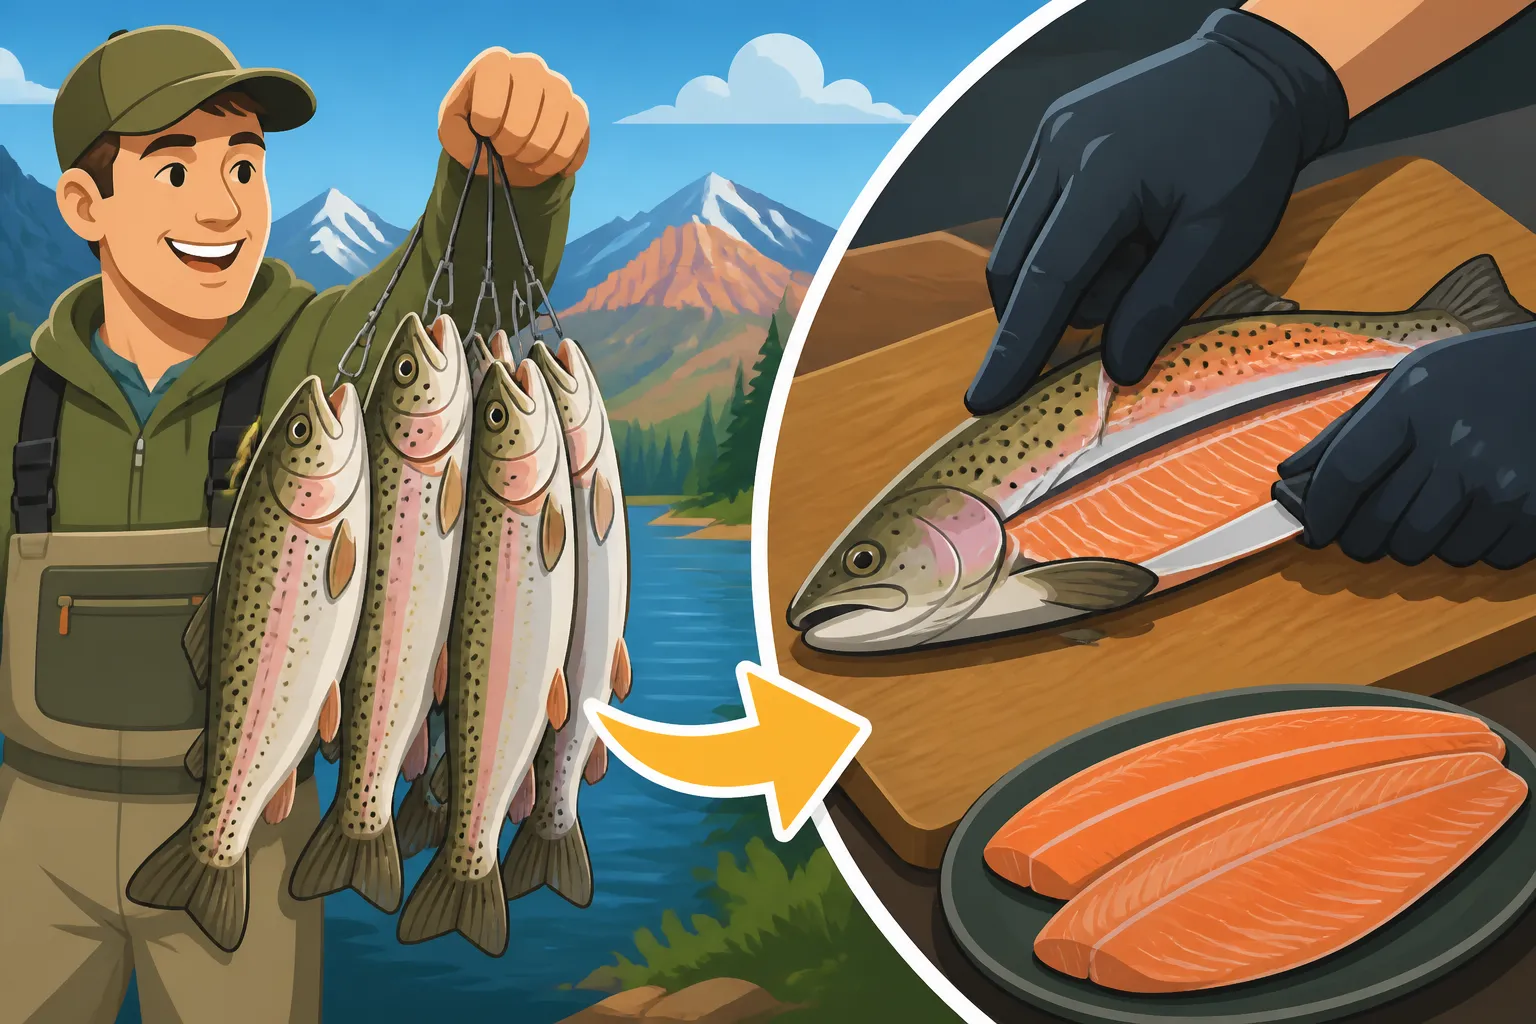
You've just had an amazing day out on a stunning Utah reservoir or a pristine mountain stream, the creel is full, and you've proudly kept your limit of beautiful trout. That triumphant feeling is awesome! But then you get home, the adrenaline fades, and you're staring at your bounty, wondering, "Okay, now what?" The thought of processing those fish can feel daunting, especially if you're not confident with a knife. This guide is here to walk you through the entire process of filleting a trout, turning that pile of whole fish into neat, boneless, ready-to-cook portions with confidence and minimal waste.
Getting Your Gear Ready: The Right Tools for a Clean Fillet
Before you even think about making the first cut, it’s crucial to gather your equipment. Trying to fillet a fish with the wrong tools is like trying to change a tire with a butter knife – frustrating, inefficient, and potentially dangerous. Having the right setup not only makes the job easier but also safer and helps you achieve cleaner, more appetizing fillets.
Choosing Your Fillet Knife
A good fillet knife is absolutely your best friend in this process. You'll want something sharp, flexible, and comfortable in your hand. Look for a blade that's typically between 6 to 9 inches long for most trout, as it offers a good balance of reach and maneuverability. A sharp edge is paramount; a dull knife will tear the flesh and make the job much harder. I can't stress this enough – a sharp knife is a safe knife! If you're looking for recommendations, our guide on the Best Fillet Knives for Utah Anglers offers some excellent insights. You can find a fantastic selection of these knives on platforms like Amazon, often with ergonomic handles that provide a secure grip, even when wet.
There are a few types of fillet knives out there:
- Flexible Blades: These are excellent for contouring around bones and spines, giving you a very clean fillet. Most trout anglers prefer a flexible blade for its precision.
- Stiffer Blades: While less common for trout, a stiffer blade might be used for larger, tougher fish, but it won't give you the same delicate control around the trout's fine bone structure.
- Electric Fillet Knives: For some anglers, especially those processing a lot of fish, an electric knife can be a game-changer. They make quick work of filleting and can reduce hand fatigue. However, they can take a bit of practice to get a clean finish, and sometimes they struggle with the smaller, more delicate trout frames.
Essential Supporting Tools
Beyond the knife, a few other items will make your filleting experience much smoother:
- Cutting Board: A sturdy, non-slip cutting board is a must. Plastic or composite boards are ideal because they are easy to clean and sanitize. Avoid wooden boards, as they can absorb fish odors and bacteria. Having a dedicated fish-filleting board is a great idea. Make sure it's large enough to comfortably lay your trout flat.
- Sharpener: Even the best knife will eventually dull. A ceramic sharpener or a sharpening steel kept nearby allows you to touch up your blade quickly if it starts to drag.
- Gloves: Consider wearing cut-resistant gloves on your non-knife hand. This is a small investment that can prevent a trip to the emergency room, especially if you're new to filleting. Fish are slippery, and accidents happen.
- Bowl for Fillets & Scraps: Have two separate bowls or containers ready. One for your pristine fillets and another for the fish carcasses and scraps. This keeps your workspace tidy and prevents cross-contamination.
- Paper Towels or Rags: For wiping down your hands, the knife, and the board as you go.
- Cooler with Ice: If you're not filleting immediately, or if it's a hot day, keeping your fish on ice is crucial. Our guide on Best Cooler Size to Keep a Trout Limit Fresh has some great tips on keeping your catch in prime condition.
Tool Checklist
To make things easy, here's a quick checklist for your filleting station:
| Tool | Purpose | Notes |
|---|---|---|
| Fillet Knife | Main tool for cutting fillets | Sharp, flexible blade (6-9 inches for trout), comfortable handle. Check Amazon! |
| Cutting Board | Stable, hygienic surface for filleting | Non-slip, plastic or composite, easy to clean. |
| Knife Sharpener | For maintaining a razor-sharp edge | Ceramic stick or sharpening steel, keep it handy. |
| Cut-Resistant Glove | Protects non-knife hand from accidental cuts | Highly recommended, especially for beginners or slippery fish. |
| Two Bowls/Containers | One for clean fillets, one for scraps | Keeps workspace organized, prevents contamination. |
| Paper Towels/Rags | For quick cleanup of hands, knife, and board | Essential for hygiene and safety. |
| Cooler with Ice | Keep remaining fish fresh while you work, or if not filleting immediately | Critical for preserving quality, particularly in warm weather. |
Preparing Your Trout for the Fillet Table
Okay, you've got your gear ready. Now let's talk about the trout themselves. Preparing them properly before you even make the first cut can significantly impact the quality of your fillets and the ease of the process.
Keeping Your Catch Fresh
The freshest fish makes the best fillets. This starts from the moment you catch the fish. If you've been careful to dispatch your fish quickly and get them on ice, you're already ahead of the game. Our article on How to Store Fish on a Hot Day in Utah provides essential advice on preserving your catch's quality from the water to your kitchen. The firmer the flesh, the easier it is to get clean cuts and less mushy fillets.
To Scale or Not to Scale?
For filleting trout, scaling is generally not necessary, especially if you plan to remove the skin from the fillet. If you intend to cook the fish with the skin on (which can be delicious, especially when pan-fried for crispy skin!), then a quick scaling might be in order. However, for a standard skin-off fillet, don't bother. The skin will be removed later.
Rinsing and Drying
Before placing the fish on your cutting board, give it a quick rinse under cold running water to remove any slime, dirt, or stray bits of grass or blood. Pat it dry thoroughly with paper towels. A dry fish is easier to handle, and your knife will glide more smoothly, reducing the risk of slips.
Positioning Your Trout
Lay your trout flat on your cutting board. For most of the filleting process, you'll want the fish facing away from you, with its back toward the hand holding the knife. This allows for natural, sweeping cuts along the backbone. It's often helpful to have the tail end pointing slightly towards your dominant hand.
The Art of the Trout Fillet: A Step-by-Step Guide
This is where the magic happens! Filleting trout isn't just about cutting; it's about understanding the fish's anatomy and working with it to maximize your yield and minimize bones. Take your time, especially the first few times. Precision over speed.
Step 1: The Initial Head Cut
With the trout lying flat on its side, belly facing away from you, make a cut just behind the gill plate, angling down towards the head. Don't cut straight through the backbone at this point. Instead, go down until you feel the spine, then rotate your knife so the blade is perpendicular to the fish. You'll feel the blade hit the backbone.
- Tip: This cut removes the head cleanly while leaving as much meat on the body as possible. Some anglers prefer to go straight through the spine here, but leaving it intact for a moment can provide a bit more stability for the next cut.
Step 2: Running the Knife Along the Backbone
Now, with the tip of your fillet knife, start at the cut you just made behind the head. Angle the blade slightly down towards the backbone. Slowly and carefully, run the knife along the top of the backbone, from the head end all the way down to the tail. Keep your knife pressed firmly against the bone. You'll feel the resistance of the ribs as you go.
- Important: The goal here is to keep the blade hugging the backbone. Every bit of meat left on the bone is meat you're not eating! Use long, smooth strokes. Don't saw back and forth, as this can shred the flesh. For larger trout, you might need a couple of passes to get a clean separation.
Step 3: Separating the Fillet from the Ribs
Once you've run the knife down the backbone, you'll have one side of the fillet mostly separated, but it will still be attached to the rib cage. At the head end, where you started, angle your knife downwards, sliding it over the top of the rib bones. Follow the natural curve of the ribs with your knife, cutting away from the bones. Work your way down towards the belly cavity. You want to lift the fillet as you cut, almost peeling it away from the ribs.
- Pro Tip: Feel the ribs with the flat of your knife blade. You're trying to scrape the meat off the ribs, leaving the bones as clean as possible. This takes a bit of practice to get a feel for the bone structure.
Step 4: Removing the First Fillet
Once you've cut along the backbone and over the ribs, the first fillet should now be completely separated from the fish's body. Lift it gently and place it skin-side down in your clean bowl. Now, flip the fish over and repeat Steps 1 through 3 on the other side. You'll likely find the second side a little easier as you've already had practice!
Step 5: Removing the Skin (Optional, but Recommended for Trout)
Most people prefer to eat trout fillets without the skin. This step is surprisingly easy with a sharp knife. Place the fillet skin-side down on your cutting board. Grasp the tail end of the fillet firmly with your non-knife hand. Now, with your fillet knife, make a small cut at the very end of the tail, just enough to separate a tiny bit of skin from the meat. Angle your knife blade almost flat against the cutting board, pointing slightly away from you. Apply gentle pressure, and saw the knife back and forth while pulling the skin with your other hand.
- Technique: Imagine trying to slice the skin off without cutting into the meat. The knife should be almost parallel to the board. The skin will peel away, leaving you with a beautiful, boneless, skinless fillet. Discard the skin with the rest of the scraps.
Step 6: Checking for Pin Bones
Even after careful filleting, trout can have a line of tiny pin bones running down the lateral line in the middle of the fillet. You can usually feel them by running your finger along the flesh. There are a few ways to deal with these:
- Tweezers/Pliers: Small, clean needle-nose pliers or specialized fish bone tweezers work wonders. Gently pull each bone out, following the angle it sits in the flesh. This is precise but can be time-consuming for many fillets.
- V-Cut: For a quicker method, you can make a V-shaped cut along both sides of the pin bone line, effectively removing the entire strip of flesh containing the bones. While this means losing a tiny bit of meat, it's efficient.
- Cook and Remove: For some smaller trout, the pin bones are so fine that they virtually dissolve during cooking, or are easy to pick out on the plate. However, for larger trout, you'll definitely want to remove them.
Now you have a gorgeous, ready-to-cook trout fillet! Repeat this process for all your trout. It might take a few fish to get the hang of it, but Utah Trout Species Guide shows you just how many delicious varieties you might be filleting.
Post-Fillet Care: Rinsing, Storing, and Enjoying Your Catch
You've done the hard work of filleting. Now it's time to make sure your efforts translate into delicious meals later. Proper handling and storage are key to preserving the quality of your fresh trout fillets.
A Final Rinse
Once you have your skinless, boneless fillets, give them one last quick rinse under cold water. This removes any stray scales, bits of blood, or bone fragments that might have remained. Be gentle, as trout flesh is delicate. Pat them thoroughly dry with paper towels afterward. Excess moisture can lead to freezer burn and a less pleasant texture when thawed.
Packaging for Freshness
How you store your fillets depends on when you plan to eat them:
- For Immediate Use (within 1-2 days): Place the dry fillets in an airtight container or a resealable plastic bag. Make sure to press out as much air as possible before sealing. Store them in the coldest part of your refrigerator.
- For Longer Storage (Freezing): Freezing is an excellent way to enjoy your catch for months to come. The goal is to prevent freezer burn, which happens when air comes into contact with the fish, causing dehydration and off-flavors.
- Vacuum Sealing: This is by far the best method. A vacuum sealer removes almost all air, extending the freezer life of your fillets significantly. You can find good, affordable vacuum sealers on Amazon, along with plenty of bags.
- Water Bath/Ziploc Method: If you don't have a vacuum sealer, place your fillets in a heavy-duty freezer bag. Partially seal the bag, then slowly lower it into a bowl of water (making sure the opening stays above the water). The water pressure will force the air out around the fish. Seal the bag completely before removing it from the water.
- Freezer Paper: You can also wrap individual fillets tightly in plastic wrap, then again in freezer paper or heavy-duty aluminum foil. This multi-layer approach helps protect against air exposure.
- Ice Glaze: Some anglers prefer to "glaze" their fish. Place dry fillets on a baking sheet and freeze until solid. Then, dip each frozen fillet quickly into cold water, allowing a thin layer of ice to form. Repeat this a few times, then store the glazed fillets in freezer bags. The ice acts as a protective barrier.
Always label your frozen packages with the date, the type of fish, and the number of fillets. This helps you rotate your stock and ensures you're eating your fish at its best. Generally, properly frozen trout can last for several months in a deep freezer.
Disposing of Scraps
After filleting, you'll be left with heads, bones, and skin. Make sure to dispose of these responsibly. Double-bag them and place them in your garbage bin, or consider composting them if your local regulations allow for animal products (though fish scraps can be quite aromatic!). If you're on a multi-day camping trip, be sure to keep all fish waste secured to avoid attracting wildlife. Alternatively, some Best Fishing Spots With a Fish Cleaning Station in Utah will have specific disposal instructions or facilities.
Ready to Cook!
Now that your trout are beautifully filleted and stored, the culinary possibilities are endless! Whether you choose to pan-fry them with a crispy skin (if you kept it on), bake them with herbs and lemon, or even use them in a delicious fish taco recipe, you're set for a fantastic meal. Understanding Utah Trout Daily Limit Explained helps ensure you're fishing legally and sustainably, making every fillet even more satisfying. Enjoy the fruits of your angling labor!
Disclaimer
This article is for general informational purposes only and does not constitute professional advice. Laws, prices and regulations vary by location and change over time. Consult a qualified professional for guidance on your specific situation.