Equipment Needed to Decontaminate Your Own Boat in Utah
Navigating Utah's stunning waterways is an absolute joy, but it comes with a serious responsibility: protecting our precious aquatic ecosystems from invasive species. Many anglers and boaters feel overwhelmed by the strict rules and wonder if they really need to go through all the hassle of decontaminating their boat. Trust me, the frustration is real, and the effort is absolutely critical. This guide is here to walk you through the essential equipment and steps you'll need to successfully decontaminate your own boat in Utah, ensuring you're compliant and doing your part to keep our waters healthy and beautiful.
Why Decontamination is Non-Negotiable in Utah
It's easy to think, "What's the big deal with a few tiny mussels?" But here in Utah, the threat of aquatic invasive species (AIS), particularly quagga and zebra mussels, is incredibly serious. These aren't just a minor nuisance; they're an ecological and economic disaster waiting to happen if not diligently managed.
The Threat of Quagga and Zebra Mussels
Imagine tiny, fingernail-sized creatures that attach to virtually any hard surface. That's a quagga or zebra mussel. They multiply at an alarming rate, forming dense mats that can clog water intake pipes, damage boat engines, ruin docks, and completely disrupt the natural food web. They filter vast amounts of water, removing plankton that native fish and other aquatic organisms rely on, leading to drastic declines in fish populations. For example, many of our favorite fisheries, like Lake Powell, are constantly battling these invaders, and the stakes couldn't be higher. The state spends millions trying to contain them, and it's a fight every boater needs to join. For a deeper dive, read about How Quagga Mussels Got Into Lake Powell and why Are Quagga Mussels Harmful to Fish Populations?.
The impact isn't just on the fish, either. These mussels can colonize your boat's hull, engine cooling systems, and bilges, leading to costly damage and repairs. They can also make your boat heavier and less fuel-efficient. It's a lose-lose situation, which is why preventive measures are so vital. When you understand the sheer scale of the problem, the seemingly tedious task of decontamination becomes a clear act of stewardship for our waters.
The Legal Obligation for Utah Boaters
Beyond the environmental impact, there's a legal framework that requires all boaters to take action. In Utah, it's not just a suggestion; it's the law. Every time you pull your boat out of an infested waterbody, or even certain non-infested ones, you are legally required to clean, drain, and dry your vessel to prevent the spread of AIS. Ignoring these rules can lead to significant fines, impoundment of your boat, and a lot of unnecessary headaches.
The Utah Division of Wildlife Resources (DWR) has specific guidelines and even mandatory inspection stations you must visit, especially when traveling from certain lakes. Failing to stop at these stations or present a clean, drained, and dry boat can land you in serious trouble. It's a testament to how seriously the state takes this issue. Familiarize yourself with the Utah Aquatic Invasive Species Rules for Anglers and all Utah Boating and Fishing Rules to avoid any penalties.
Understanding the "Clean, Drain, Dry" Protocol
The foundation of boat decontamination in Utah, and indeed across many states battling AIS, is the "Clean, Drain, Dry" protocol. It sounds simple, but each step needs to be performed thoroughly to be effective. This isn't just a catchy phrase; it's a precise methodology for preventing the spread of these harmful organisms. Skipping any one of these steps can compromise the entire effort.
Clean: What Needs to Be Cleaned and How
The "Clean" step means physically removing all visible aquatic plants, animals, and mud from your boat and trailer. This includes the hull, propeller, anchor, fishing gear, and even your boots. Think of it as a meticulous inspection, leaving no stone unturned, or in this case, no crevice unexamined. Mussels can hide in the smallest nooks and crannies.
You'll need brushes, scrapers, and a keen eye. Pay particular attention to the propeller and any areas where water might pool or plants might cling. Many species, like hydrilla or Eurasian watermilfoil, can reproduce from just a tiny fragment. So, a thorough sweep of your boat and trailer for any plant material is paramount. Dispose of any removed debris in a trash can, far away from any water source, to prevent it from finding its way back into the ecosystem.
Drain: All Water from the Boat
This step is critical because many invasive species, including microscopic mussel larvae (veligers), can survive in standing water. You need to drain all water from your boat and any equipment that held water. This includes the bilge, live wells, ballast tanks, engine cooling systems, and any portable containers like bait buckets or coolers. The goal is to remove every single drop of water.
Ensure drain plugs are removed, and the boat is tilted to allow for complete drainage. Run your engine for a few moments out of the water to flush residual water from the cooling system, but be quick to avoid damage to your impeller. Remember, even a small amount of water can harbor countless invasive organisms, rendering all your cleaning efforts useless. Some waterbodies, like Lake Powell, have specific Utah Dry Time Rules After Leaving Lake Powell which often dictate how quickly you need to drain and dry before heading to another waterbody.
Dry: The Crucial Step and Its Challenges
"Dry" is often the most challenging but arguably the most important step. Many invasive species cannot survive out of water for extended periods, especially when exposed to direct sunlight and low humidity. The goal is to ensure your boat and all equipment are completely, bone-dry before launching into another waterbody. This means more than just a quick wipe-down.
Depending on the species, air temperature, and humidity, the drying process can take days or even weeks. It's not uncommon for the DWR to recommend a 7-day or even 30-day dry time for boats coming from highly infested waters. This is where patience is key. Store your boat in a sunny, well-ventilated area with all compartments open. Consider lifting seats or cushions to allow air circulation underneath. For more detailed instructions on achieving this, refer to How Dry a Boat Properly to Meet Utah's AIS Rules.
Essential Equipment for DIY Boat Decontamination
Successfully decontaminating your boat at home requires more than just good intentions; you need the right tools for the job. While you might already have some of these items, others are specialized and will make the process much more effective and less daunting. Thinking ahead and having this gear on hand will save you a lot of grief.
High-Pressure Washer and Nozzles
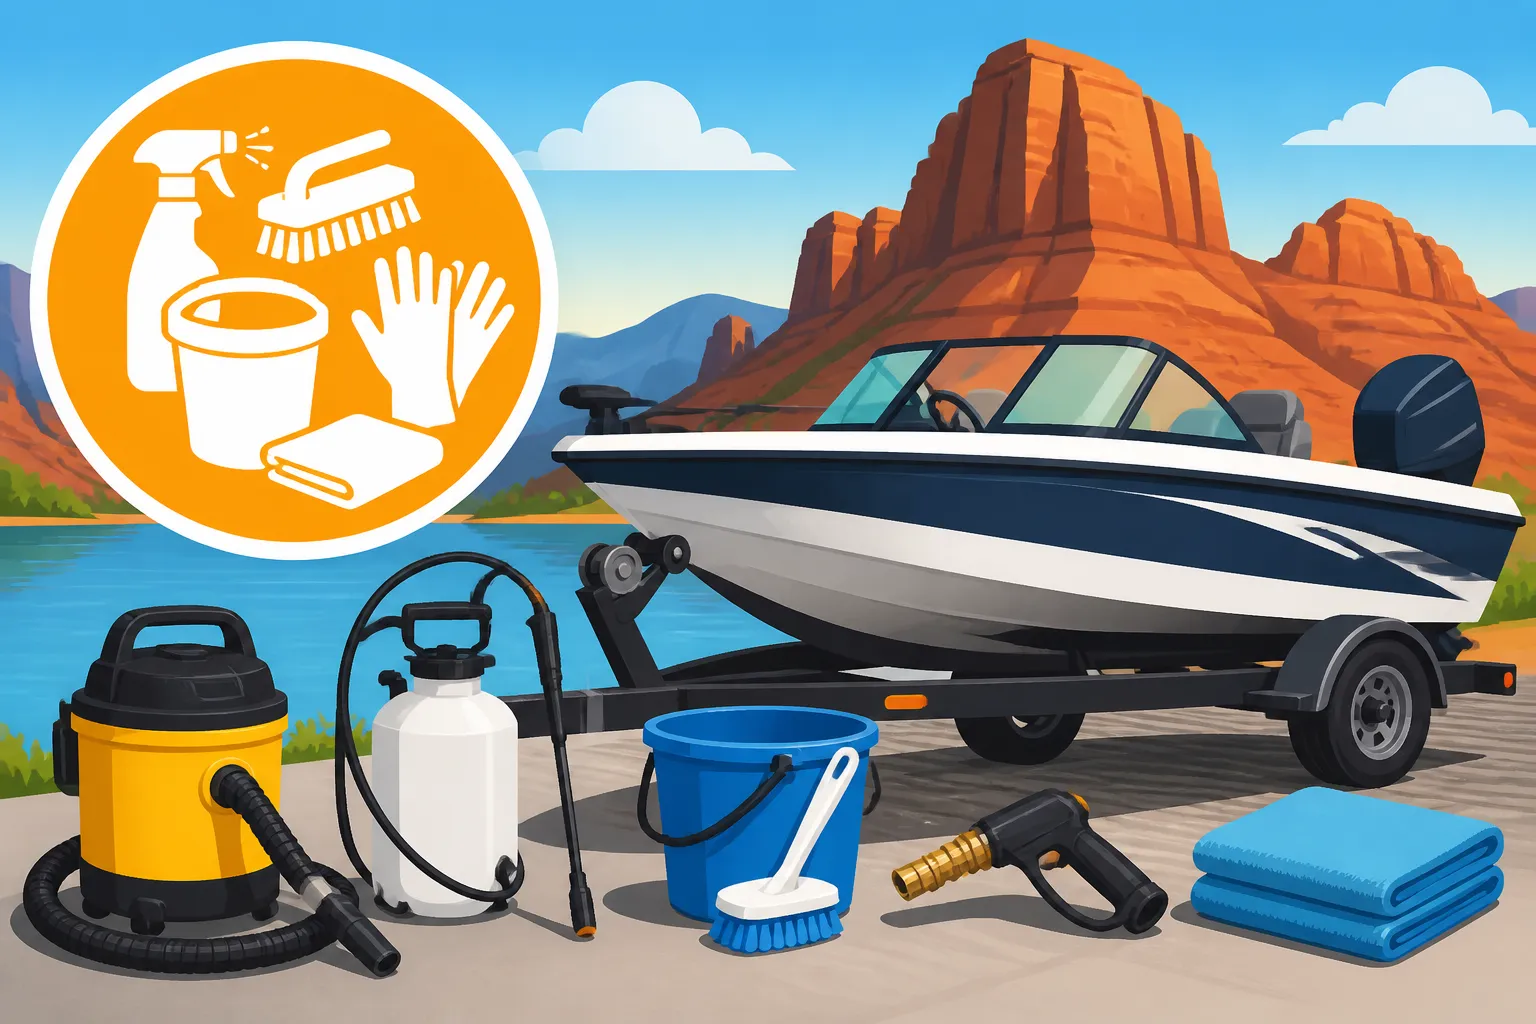
A powerful high-pressure washer is your best friend when it comes to the "Clean" step. These machines deliver concentrated streams of water that can blast away stubborn mud, grime, and even small mussels attached to your hull. Aim for a washer with at least 1500-2000 PSI for effective cleaning. You can often find a good selection at stores like Bass Pro Shops or even general home improvement stores.
Different nozzles are crucial here. A narrow-angle nozzle (like a 15-degree or 25-degree) provides concentrated power for tough spots, while a wider angle or rotary nozzle (often called a "turbo" nozzle) can cover larger surfaces quickly. Be cautious with extremely narrow nozzles, as they can damage delicate boat finishes or decals if not used properly. The goal is to remove, not etch. Remember to always work from top to bottom, allowing gravity to help carry away debris.
Specialized Cleaning Solutions
While plain water does a lot, certain situations call for a little extra help. Specialized boat cleaning solutions can dissolve mineral deposits, remove algae, and generally make the cleaning process more efficient. Look for products specifically designed for marine use that are biodegradable and won't harm aquatic life or your boat's finish. Many excellent options are available from reputable brands, and you can easily order them online through retailers like Amazon, often with helpful customer reviews to guide your choice.
However, be very mindful of using harsh chemicals. The primary goal of AIS decontamination is physical removal and drying. Strong chemicals usually aren't necessary for killing mussels and can be harmful to the environment if they run off into storm drains that lead to natural waterways. If you do use a cleaner, follow the manufacturer's instructions carefully and rinse thoroughly. For the most part, a good pressure wash and diligent scrubbing are sufficient.
Tools for Manual Cleaning and Inspection
Even with a pressure washer, some areas will require manual attention. A set of stiff-bristled brushes, a long-handled deck brush, and a few smaller detail brushes are indispensable. These are perfect for scrubbing the inside of live wells, bait buckets, and any compartments where water might sit. A small, flexible scraper (plastic or rubber to avoid scratching gelcoat) can be useful for carefully dislodging any stubborn mussel shells or hardened mud.
Don't forget a good flashlight. Invasive species love to hide in dark, out-of-the-way places like the nooks and crannies of your trailer, the inside of your engine compartment, or under seats. A bright light will help you spot any hidden aquatic hitchhikers you might otherwise miss. A small mirror on an extendable handle can also be incredibly useful for peeking into hard-to-reach spots.
Drying Equipment and Strategies
Effective drying can be passive (air drying) or active. For active drying, consider a powerful leaf blower or a shop vacuum with a blower function. These can quickly remove standing water from inaccessible areas, speeding up the drying process significantly. A large chamois or microfiber towels are great for wiping down surfaces and absorbing residual moisture.
For areas that are hard to get air into, a small portable fan can help circulate air and accelerate drying. You might also want to invest in a moisture meter, especially for inspecting absorbent materials like carpet or wood, though for the most part, visual inspection and extended dry times are what the DWR emphasizes. The key here is to minimize the amount of time any part of your boat remains wet, as this is when invasive species can survive and potentially transfer.
Protective Gear
While you're working diligently to protect Utah's waters, don't forget to protect yourself! Decontamination often involves working with water, dirt, and potentially cleaning solutions. Waterproof gloves will protect your hands, and eye protection (safety glasses or goggles) is a must, especially when using a pressure washer, as debris can easily fly up.
Sturdy, waterproof boots will keep your feet dry and give you good traction on wet surfaces. Consider wearing old clothes that you don't mind getting dirty, or even a waterproof apron. This is not a task for your Sunday best! Taking these simple precautions ensures you can focus on the task at hand safely and effectively.
Step-by-Step DIY Decontamination Process
Once you have all your equipment ready, the actual decontamination process becomes much more manageable. Think of it as a methodical procedure, not a rushed chore. Each step builds on the last, ensuring comprehensive coverage.
Pre-Inspection and Initial Cleaning
As soon as your boat is out of the water and on its trailer, the very first thing you need to do is a thorough pre-inspection. Walk around your boat and trailer, visually scanning for any visible plants, mud, or organisms. This is where your keen eye and flashlight come in handy. Carefully remove any visible debris by hand. If you spot a clump of weeds, pull it off and dispose of it in a trash receptacle, not back on the ground near the lake.
Next, use your brushes and scrapers to get at the more stubborn bits. Pay special attention to the prop, rudder, trim tabs, and any areas with intricate parts where invasive species like to cling. If you've been fishing, this is also the time to clean your fishing gear, nets, and waders. Remember, small fragments can be just as dangerous as entire organisms. This initial manual cleaning makes the pressure washing much more effective.
Thorough Draining of All Water
With the initial visible debris removed, it's time to get rid of every drop of water. This means pulling all drain plugs, opening all compartments (live wells, bait wells, storage lockers), and making sure the boat is angled so water can easily flow out. If your boat is on a trailer, raising the bow slightly can help gravity do its job.
Don't forget those hidden water pockets. Run your engine for a few seconds to flush out the cooling system. Operate any bilge pumps until they run dry. Empty all coolers, buckets, and any other containers that held water. Remember, even a small amount of standing water can be enough for microscopic invaders to survive, so be meticulous. This is where a shop-vac with a blower feature can really help push water out of hard-to-reach places.
Hot Water Wash-Down
Now for the heavy artillery: the pressure washer. If possible, use hot water, as temperatures above 140°F (60°C) are lethal to quagga and zebra mussels, including their microscopic larvae. While not every home pressure washer can heat water, a cold-water pressure wash is still vastly superior to no wash at all. Direct the high-pressure spray at every surface of your boat, trailer, and any equipment that was in the water. Focus on the hull, transom, propeller, anchor, and especially the areas around the bunks and axles of your trailer.
Systematically work your way around the boat, ensuring you hit every crevice and surface. This step physically dislodges any remaining mussels, plant fragments, or mud that survived the initial manual inspection. If you're using a cleaning solution, apply it as directed and allow it to sit for the recommended time before rinsing thoroughly with your pressure washer. Make sure the runoff is contained and doesn't flow into any storm drains or nearby waterways.
Ensuring Complete Drying
Once cleaned and drained, the drying process begins. This is often the longest and most critical part. Park your boat in a sunny, well-ventilated area with all compartments, hatches, and live well lids open to maximize airflow. Raise your outboard motor to allow any water to drain from the lower unit. You can use your leaf blower or shop-vac to force air into enclosed spaces and speed up evaporation.
The required drying time varies significantly based on weather conditions (temperature, humidity), the size of your boat, and where it's been. For example, if you're coming from a high-risk waterbody like Lake Powell, the DWR often recommends a minimum dry time of 7 to 30 days before launching into another Utah reservoir. This may seem excessive, but it's a proven method to ensure any lingering microscopic invaders are completely desiccated and killed. Be patient, be thorough, and err on the side of a longer dry time.
When to Seek Professional Decontamination
While doing it yourself is commendable and often sufficient for routine outings from low-risk waters, there are times when professional decontamination is not just recommended, but absolutely necessary. It’s important to know your limits and understand when the experts need to step in.
Traveling from High-Risk Waterbodies
If you've been fishing or boating on a known infested waterbody, especially one like Lake Powell where quagga mussels are established, state regulations often mandate a professional hot water decontamination. These inspections and decontamination processes are often performed at designated Utah Aquatic Invasive Species Inspection Stations. They have specialized equipment that heats water to a precise, lethal temperature and ensures all systems, including engine cooling and ballast tanks, are thoroughly flushed.
Attempting to bypass these requirements or perform a DIY decontamination that isn't up to standard after visiting a high-risk lake can result in severe penalties. Always check the latest DWR guidelines for the specific waterbody you've visited or plan to visit. When the stakes are high, relying on certified professionals is the smartest and safest bet. They also provide official documentation that you'll need for relaunching at other waters. The Utah Quagga Mussel Decontamination Cost at these stations is a small price to pay for the peace of mind and legal compliance it offers.
Complex Boat Systems
Modern boats can have incredibly complex systems – intricate livewell plumbing, large ballast tanks, internal engine cooling systems that are difficult to access, and even built-in washdown pumps. Draining and drying these systems completely can be a real headache for the average boater. Mussels and their larvae can easily hide in these hard-to-reach areas.
Professional decontamination centers have the specialized tools and expertise to ensure these complex systems are thoroughly flushed with hot water and fully drained. They can access and treat areas that would be impossible to reach with standard home equipment. If you're unsure about whether you can effectively clean all parts of your boat, particularly if it has many intricate systems, it's always best to consult with a professional service. Remember, even Do Kayaks and Paddleboards Need AIS Inspections in Utah? sometimes, so it's not just big boats that need to be careful!
Essential Equipment for DIY Boat Decontamination
To help you keep track of what you'll need for effective DIY boat decontamination, here's a quick rundown of the essential gear. Having these items on hand will make the "Clean, Drain, Dry" process much smoother and more effective.
| Equipment Type | Specific Item(s) | Primary Purpose | Where to Find (Examples) |
|---|---|---|---|
| Cleaning & Removal | High-pressure washer (1500-2000 PSI) | Blasting away debris, mud, and attached organisms | Bass Pro Shops, Home Depot, Amazon |
| Various nozzles (15°, 25°, rotary) | Targeted and broad-area cleaning | Included with pressure washer, hardware stores, Amazon | |
| Stiff-bristled brushes (deck brush, detail brushes) | Scrubbing stubborn areas, internal compartments | Bass Pro Shops, marine supply stores, Amazon | |
| Flexible scraper (plastic/rubber) | Removing attached mussels/deposits without damage | Marine supply stores, hardware stores, Amazon | |
| Specialized boat cleaning solution (biodegradable) | Dissolving mineral deposits, algae (use sparingly) | Bass Pro Shops, marine supply stores, Amazon | |
| Inspection | Bright flashlight | Spotting hidden organisms in dark areas | Any general store, Bass Pro Shops, Amazon |
| Small mirror on extendable handle | Viewing hard-to-reach engine/trailer components | Hardware stores, automotive stores, Amazon | |
| Draining & Drying | Leaf blower / Shop-vac with blower function | Removing standing water from cracks, speeding drying | Hardware stores, home improvement stores, Amazon |
| Large chamois or microfiber towels | Wiping down surfaces, absorbing residual moisture | Automotive stores, general stores, Amazon | |
| Portable fan | Circulating air in enclosed compartments | Department stores, Amazon | |
| Personal Safety | Waterproof gloves | Protecting hands from water, debris, chemicals | Hardware stores, general stores, Amazon |
| Eye protection (safety glasses/goggles) | Protecting eyes from flying debris, water spray | Hardware stores, general stores, Amazon | |
| Waterproof boots | Keeping feet dry, providing traction | Outdoor stores, Bass Pro Shops, Amazon |
This list covers the basics, but remember that diligence and patience are perhaps the most important tools in your decontamination arsenal!
Disclaimer
This article is for general informational purposes only and does not constitute professional advice. Laws, prices and regulations vary by location and change over time. Consult a qualified professional for guidance on your specific situation.