Battery Setup to Power a Fish Finder on a Kayak
It can be incredibly frustrating to finally get your fish finder mounted on your kayak, ready for those amazing Utah waters, only to realize you're staring at a tangle of wires and an empty battery compartment, unsure where to even begin with powering it up. Finding a reliable, lightweight, and long-lasting battery solution that fits seamlessly into your kayak setup doesn't have to be a headache. This guide is all about demystifying the battery setup for your kayak fish finder, helping you choose the right power source and get it installed safely so you can spend less time tinkering and more time catching fish.
Understanding Your Fish Finder's Power Needs
Before you even think about buying a battery, you need to understand what your fish finder actually needs to operate. It’s not just about "any battery will do"; the wrong choice can lead to short trips, unreliable performance, or even damage to your valuable electronics. Think of it like fueling your car – you wouldn't just put any liquid in the tank, right? The same goes for your fish finder's power.
Volts and Amps: The Basics
Every fish finder, whether it's a basic model or a high-end unit with all the bells and whistles, will have a specified voltage requirement, typically 12 volts (V). This is pretty standard across most marine electronics. Where things get a bit more nuanced is with amperage, or current draw. This is usually listed in amps (A) or watts (W). A higher-end unit with a large screen, powerful transducer, GPS, and side-imaging capabilities will draw more current than a simple black-and-white display.
To figure out your specific fish finder's needs, check the manual or the label on the unit itself. It will usually state something like "12V DC, 0.7A (max)" or "Power Draw: 10W." If it gives you watts, you can easily convert that to amps by dividing watts by volts (e.g., 10W / 12V = 0.83A). This number, your current draw, is crucial because it tells you how much power your battery needs to provide and how quickly it will drain. Knowing this will help you calculate how long your battery will last on a single charge when you're out on the water, perhaps chasing trout at Strawberry Reservoir or casting for smallmouth bass at Flaming Gorge.
Calculating Runtime for Your Fishing Trips
Once you know your fish finder's average amp draw, you can estimate how long a battery will power it. Batteries are rated in Amp-hours (Ah), which essentially tells you how many amps they can supply for one hour. So, if you have a 10 Ah battery and your fish finder draws 1 amp, theoretically, it could run for 10 hours (10 Ah / 1A = 10 hours). However, it's rarely that simple in practice.
You'll want to factor in a buffer. Batteries don't always perform at 100% efficiency, especially in colder temperatures, and running them completely dead shortens their lifespan. Aim for a battery that gives you at least 20-30% more capacity than your estimated maximum trip length. For instance, if you typically fish for 6 hours, and your unit draws 1 amp, you'll need at least 6 Ah of usable power. A 10 Ah battery would give you a good margin. If you also plan on adding accessories like a USB charger or navigation lights, those will add to the amp draw, so always account for them. Overestimating your needs slightly is always better than underestimating and having your fish finder die right when the bite turns on. This planning ensures your gear keeps up with your enthusiasm, whether you're out for a quick evening trip to a local community pond or a full day on larger waters.
Choosing the Right Battery Type for Kayak Fishing
The world of batteries can seem a bit overwhelming, with so many acronyms and technologies out there. For kayak fishing, the main contenders you'll encounter are lead-acid (specifically Sealed Lead-Acid or SLA) and lithium (Lithium Iron Phosphate or LiFePO4). Each has its pros and cons, and the "best" choice really depends on your budget, how much weight you're willing to carry, and how often you plan to hit the water.
Sealed Lead-Acid (SLA) Batteries
SLA batteries, often called AGM (Absorbed Glass Mat) batteries, are the traditional workhorse for many portable electronics. They are generally the most budget-friendly option upfront, which makes them appealing if you're just getting into kayak fishing or are trying to keep costs down. You can find these at many general retailers and sporting goods stores like Bass Pro Shops.
However, there are some significant trade-offs to consider, especially for kayak fishing. SLA batteries are heavy. A 10 Ah SLA battery can weigh upwards of 7-8 pounds, which might not sound like much until you're trying to balance it in a small kayak or carry your gear a long distance to the launch. They also have a more limited "depth of discharge" – meaning you shouldn't regularly drain them below 50% capacity if you want them to last. This effectively cuts their usable capacity in half. So, a 10 Ah SLA battery only really provides about 5 Ah of usable power for a decent lifespan. They are sensitive to deep discharges and can be damaged if left uncharged for extended periods. While they're a good entry-level choice, their weight and lower usable capacity can become a noticeable hindrance for serious kayak anglers venturing to places like the Uinta Mountains High Lakes Fishing, where every ounce counts.
Lithium Iron Phosphate (LiFePO4) Batteries
Lithium Iron Phosphate (LiFePO4) batteries are the newer, more advanced option, and they're quickly becoming the gold standard for kayak anglers. While their initial cost is higher than SLA batteries, they offer a significant return on investment through their performance and longevity.
The biggest advantages of LiFePO4 batteries are their light weight and high usable capacity. A 10 Ah LiFePO4 battery might weigh only 2-3 pounds, making a huge difference in kayak portability and stability. Crucially, they can be discharged almost completely (up to 80-90% or more) without damaging the battery, meaning a 10 Ah LiFePO4 battery truly provides close to 10 Ah of usable power. They also boast a much longer lifespan, often lasting 5-10 times longer in terms of charge cycles compared to SLA batteries. Many LiFePO4 batteries come with a built-in Battery Management System (BMS) that protects them from overcharging, over-discharging, and short-circuits, adding an extra layer of safety and convenience. While you might initially flinch at the price tag, a quality LiFePO4 battery is an investment that will lighten your load, extend your fishing time, and last for many seasons. You can find a good selection of these specialized batteries online through retailers like Amazon.
Here's a quick comparison to help you visualize the differences:
| Feature | Sealed Lead-Acid (SLA) | Lithium Iron Phosphate (LiFePO4) |
|---|---|---|
| Initial Cost | Lower | Higher |
| Weight | Heavy (e.g., 7-8 lbs for 10 Ah) | Lightweight (e.g., 2-3 lbs for 10 Ah) |
| Usable Capacity | ~50% of rated Ah (e.g., 5 Ah usable from 10 Ah) | ~80-90% of rated Ah (e.g., 8-9 Ah usable from 10 Ah) |
| Lifespan (Cycles) | Shorter (hundreds of cycles) | Much Longer (thousands of cycles) |
| Maintenance | More sensitive to deep discharge, needs regular charging | Less sensitive, built-in BMS protection |
| Performance | Can sag under load, affected by cold | Consistent voltage, better cold-weather performance |
| Safety | Generally safe if properly maintained | Very safe with BMS, non-combustible |
Battery Size and Placement
Once you've chosen your battery type, consider its physical size and where it will fit on your kayak. Kayaks, by nature, have limited space. You want a battery that's compact enough to fit in a hull compartment, a dry bag, or a dedicated battery box without interfering with your paddling, fishing, or balance.
Many kayak anglers opt for a small, purpose-built battery box or a dry bag to house their battery, protecting it from splashes and accidental submersion. For smaller kayaks or those fishing remote waters, choosing a truly compact and lightweight battery becomes even more critical. Consider whether you'll mount it inside the hull for better weight distribution or on deck for easier access. For instance, if you're fishing a place like Utah Lake Walleye Fishing Spots, you'll appreciate a lighter setup for navigating the shallower areas, whereas a deeper reservoir like Flaming Gorge Fishing Guide might allow for a bit more bulk. Regardless of placement, ensure it's secure. You don't want your battery bouncing around or, worse, falling overboard during a chop or an unexpected capsize.
Essential Components for a Safe and Reliable Setup
Having the right battery is only half the battle. Connecting it safely and effectively to your fish finder requires a few other crucial components. Skipping these steps, particularly regarding fusing and waterproofing, can lead to frustration, damaged equipment, or even safety hazards on the water.
Wiring and Connectors
The type and gauge of wiring you use are important. For most 12V fish finder setups, 16 or 18 gauge marine-grade wire is sufficient. "Marine-grade" means the wire is tinned (coated with tin) to resist corrosion, which is essential in a wet environment like a kayak. Don't skimp on this; standard automotive wire can corrode quickly in saltwater or even just humid conditions, leading to poor connections and performance issues.
For connectors, waterproof options are key. Heat-shrink butt connectors, quick-disconnects (like SAE or bullet connectors), and waterproof plugs (like the ones often found on trolling motors) are excellent choices. Using heat shrink tubing over all connections adds an extra layer of protection against moisture. If you plan to easily remove your fish finder or battery, investing in a good set of waterproof quick-disconnects will make your life much easier. Imagine trying to unplug a corroded connection with cold, wet hands after a successful day catching fish at Fish Lake Trophy Trout Fishing – it's no fun! Ensure all connections are tight and secure, as loose connections can cause intermittent power and potential damage.
Fuses and Circuit Protection
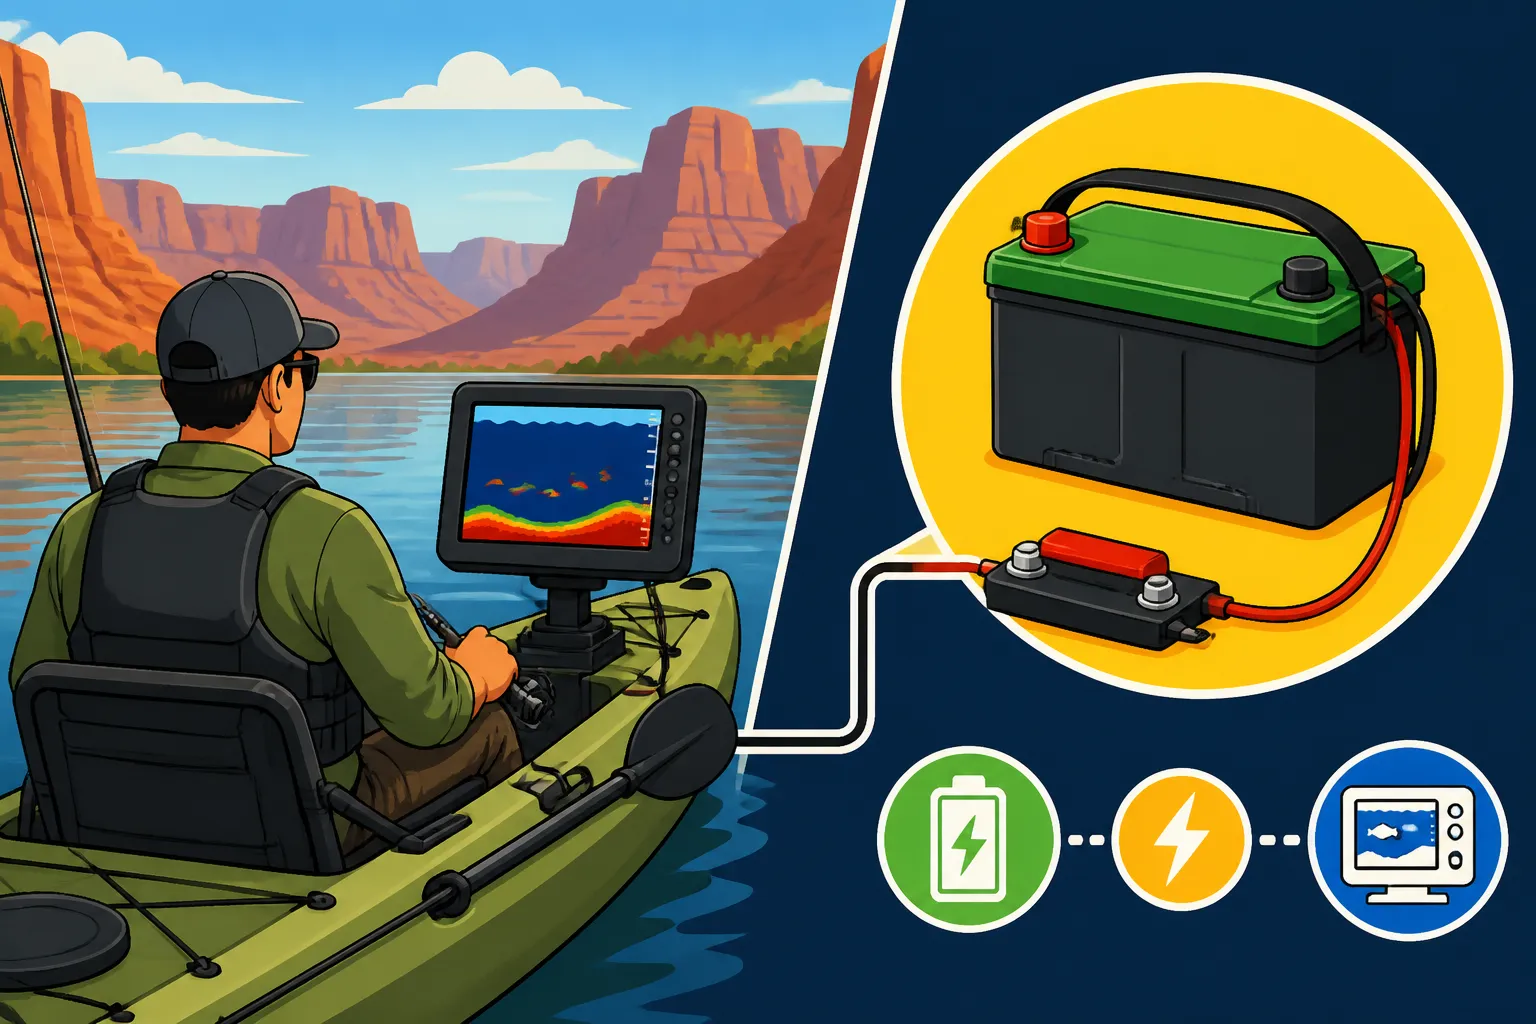
This is non-negotiable: always, always use a fuse on your battery setup. A fuse is a critical safety device that protects your fish finder (and your battery, and your kayak, and you!) from power surges or short circuits. If something goes wrong – say, a wire gets pinched and shorts out – the fuse will blow, breaking the circuit and preventing damage or fire.
A common setup is an inline fuse holder with an appropriately sized fuse. To determine the correct fuse size, look at your fish finder's manual. It will usually specify a recommended fuse rating (e.g., "Max Fuse: 3A"). Always use a fuse that matches or is slightly higher than the maximum amp draw of your device, but never higher than the manufacturer's recommendation. For example, if your fish finder draws 1 amp, a 2-amp or 3-amp fuse is a good choice. Installing the fuse as close to the battery's positive terminal as possible provides the best protection. It's a small, inexpensive component that offers massive peace of mind.
Waterproofing and Battery Enclosures
Water is the enemy of electronics and batteries, especially in a kayak where splashes, rain, and even accidental submersion are real possibilities. Proper waterproofing is paramount.
Many kayak anglers use a waterproof battery box. These hard-shell cases often have rubber gaskets and secure latches to keep water out. Some even have integrated USB charging ports or external terminals, making them very convenient. If you're going for a simpler approach, a heavy-duty dry bag (like those used for backpacking or rafting) can work well, especially for LiFePO4 batteries that are more tolerant of moisture if the terminals are protected. Ensure any wires exiting the enclosure are sealed with waterproof glands or generous amounts of marine-grade sealant. Even if you're fishing calm waters like a small pond, an unexpected capsize or simply heavy rain can put your electrical system at risk. Investing in a good waterproof solution protects your gear and extends its life.
Installation Tips and Best Practices for Kayak Anglers
Once you've gathered all your components, it's time to bring it all together. A thoughtful installation will ensure reliability, ease of use, and longevity for your setup, making your time on Utah's beautiful waters more enjoyable.
Secure Mounting and Cable Management
The movement of a kayak on the water means everything needs to be securely mounted. Your battery should be fastened or placed in a compartment where it won't shift around, even in choppy conditions or if you lean aggressively. Consider using Velcro straps, bungee cords, or custom-fit foam inserts to keep it snug.
Cable management is often overlooked but makes a huge difference. Route your wiring in a way that minimizes snags, pinches, and exposure to the elements. Use cable ties or clamps to secure wires along the inside of your kayak hull or rail. Avoid leaving loose loops of wire that can catch on fishing lines, paddles, or your feet. This isn't just about aesthetics; neatly routed cables are less likely to be damaged and are easier to troubleshoot if an issue arises. Think about how you'll manage your Kayak Accessories Worth Adding for Utah Fishing as well, ensuring everything has its place.
Charging and Maintenance Routines
Just like any piece of valuable gear, your battery needs a little love to perform its best and last a long time. Developing a good charging and maintenance routine is key.
For SLA batteries, charge them fully after every use, even if you only used them for a short period. Avoid leaving them in a discharged state, as this can cause sulfation and dramatically reduce their lifespan. If storing for a long time (like over the winter), give them a "maintenance charge" every month or two. For LiFePO4 batteries, the rules are a bit more relaxed. They can be stored at a partial charge without harm, and they don't suffer from memory effect. However, it's still good practice to charge them fully before a trip and after heavy use. Always use a charger specifically designed for your battery chemistry (SLA chargers for SLA batteries, LiFePO4 chargers for LiFePO4 batteries) to prevent damage.
Beyond charging, regularly inspect your wiring, connections, and fuse for any signs of corrosion, fraying, or wear. A quick visual check can catch a small problem before it becomes a big one. Keep the battery terminals clean and free of debris. If you're fishing in saltwater (unlikely in Utah, but good practice for any boat), consider spraying electrical connections with a protective marine lubricant. Proper care ensures your battery is always ready for your next adventure, whether it's a calm day at Deer Creek Reservoir Fishing Spots or a windy session at Willard Bay Fishing Access.
Troubleshooting Common Power Issues
Even with the best setup, sometimes things go wrong. Knowing how to troubleshoot basic power issues can save your fishing trip. If your fish finder suddenly goes blank, don't panic.
Start with the simplest things:
- Check the connections: Are all wires securely plugged in? Is the battery cable firmly attached to the fish finder and the battery terminals?
- Check the fuse: This is usually the culprit. If the fuse is blown (the small wire inside is broken), replace it with one of the exact same amperage. Always carry spare fuses!
- Check the battery charge: Is the battery dead? If you have a battery meter, check the voltage. If not, try connecting it to a charger to see if it takes a charge.
- Inspect for corrosion or damage: Look closely at all wires and terminals for green corrosion, frayed insulation, or physical damage.
If these basic checks don't solve the problem, you might have a deeper issue with the fish finder itself or a more complex wiring fault. But often, it's a simple fuse or a loose connection that just needs a quick fix. Carrying a small multi-tool and spare fuses in your Utah Fishing Gear Guide kit can be a trip-saver.
Disclaimer
This article is for general informational purposes only and does not constitute professional advice. Laws, prices and regulations vary by location and change over time. Consult a qualified professional for guidance on your specific situation.